In this tutorial, we’ll cover building monthly, weekly, and daily calendar views in React with the help of FullCalendar . We’ll also look at various features and customizations you can add using plugins.
Let’s get started!
Intro to FullCalendar
FullCalendar is a JavaScript library for creating calendar interfaces. It’s open source and has adapters for React and many other frameworks as well as TypeScript support.
FullCalendar is popular for a reason. Aside from being easy to use, it also has many built-in features and plugins for customization.
Different views
The library provides various calendar views, such as monthly, weekly, and daily. FullCalendar also has TimeGrid and DayGrid views that are perfect for building scheduling interfaces.
On top of that, you can customize your views to create a truly unique calendar experience for your users.
Plugin system
As I mentioned, FullCalendar has a wide range of plugins for adding extra functionality.
The plugin system is useful because you don’t need to download the whole library code but can pick and choose which plugins to include. Doing so keeps the size of your codebase down and makes it easier to manage dependencies.
Some of the popular plugins include:
- @fullcalendar/interaction: Provides the click, touch, and dragging interactions.
- @fullcalendar/daygrid: Offers monthly, daily, and weekly calendar views.
- @fullcalendar/timegrid: Offers time grid views.
- @fullcalendar/list: Offers simplified list views.
There are also many other plugins available, including premium ones, so be sure to check them out. For the comprehensive list of the plugins, check out this documentation page .
With the overview out of the way, let’s see how we would use FullCalendar with React.
Setting up a basic view
First, let’s install the core npm packages we need:
yarn add @fullcalendar/daygrid @fullcalendar/react
Next, let’s add the FullCalendar component and include the day grid plugin:
|
|
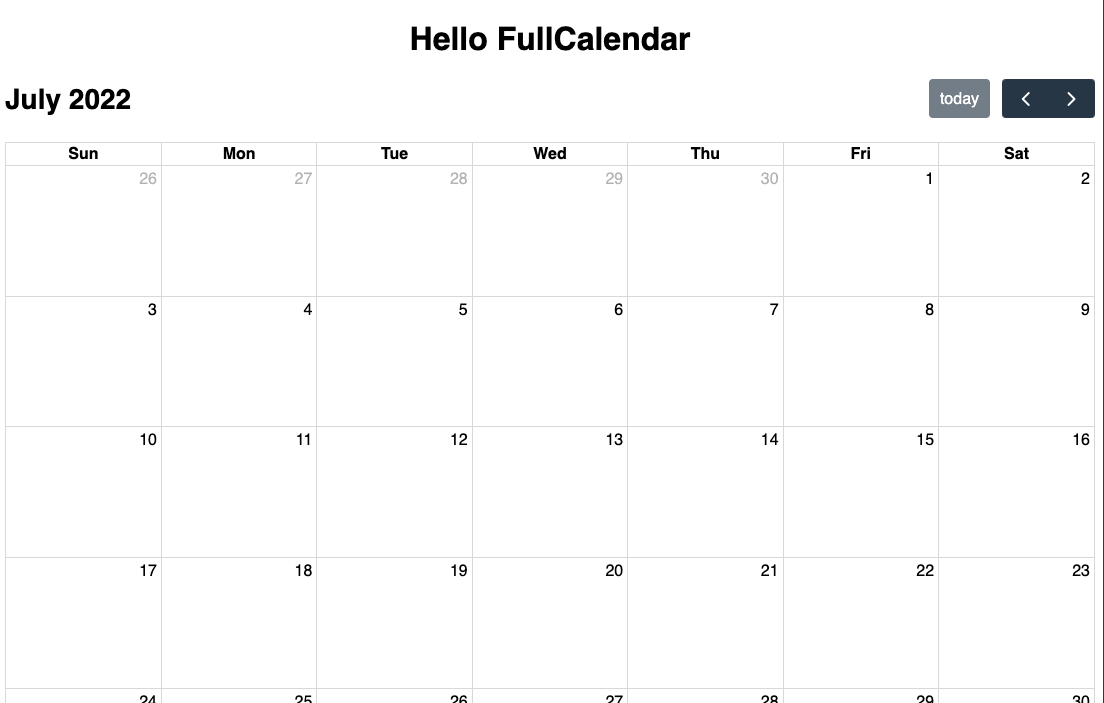
Even with this minimal setup, you should see a functioning monthly calendar view.
Now let’s customize our top toolbar more and add weekly and daily views. FullCalendar provides a headerToolbar prop that we can use to pick which controls we want to see:
|
|
The headerToolbar objects accepts start, center and end fields. Each of those fields must be strings that can contain title, prev, next, prevYear, nextYear, today, and a name of the calendar view, like dayGridMonth.
You can arrange those fields in any order you want, and FullCalendar will render them accordingly.
Here is what the result of our configuration will look like:
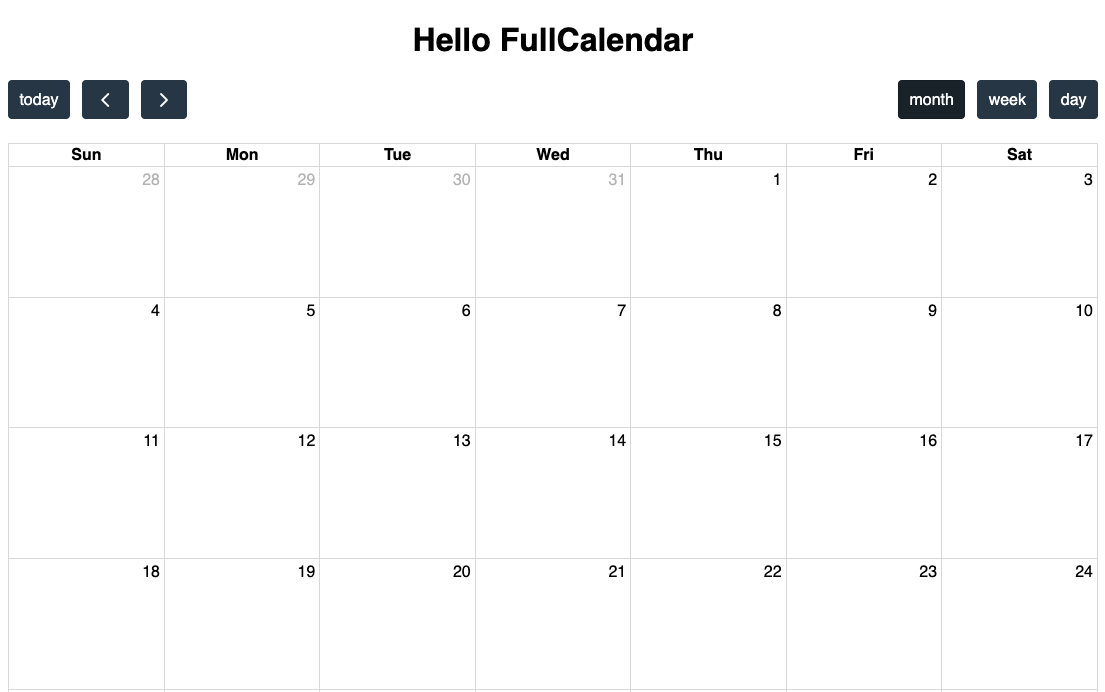
That’s how easy it is to add views with FullCalendar!
Adding event interactions
Our calendar looks good but is not of much use without events. Let’s see how we can add some.
We’ll start by adding the @fullcalendar/interaction plugin:
yarn add @fullcalendar/interaction
To make the calendar interactive, we need to set editable and selectable props to true and include interactionsPlugin in the array of plugins.
For the sake of simplicity, we’ll store our events in the component’s state, but you can just as easily store them in a remote database or local storage:
|
|
At this point, you’ll notice the calendar becomes clickable, but nothing happens when you click. That’s because we’re not handling the events yet.
Adding events
To allow adding events, we need to add a handler to the select prop that will fire whenever users select a date on our calendar:
|
|
The code is pretty straightforward: we’ve added a handleSelect callback that accepts the info object as an argument. This object contains information about the dates selected by users.
With the help of the prompt() function, we ask users for event titles and create a new event with a start, end, title, and id.
The id property needs to be a unique string, which is why we use the uuid library.
To edit an event you would follow a similar pattern to the one above but use the eventClick prop instead. And for handling drag and drop actions, you can use the eventChange prop.
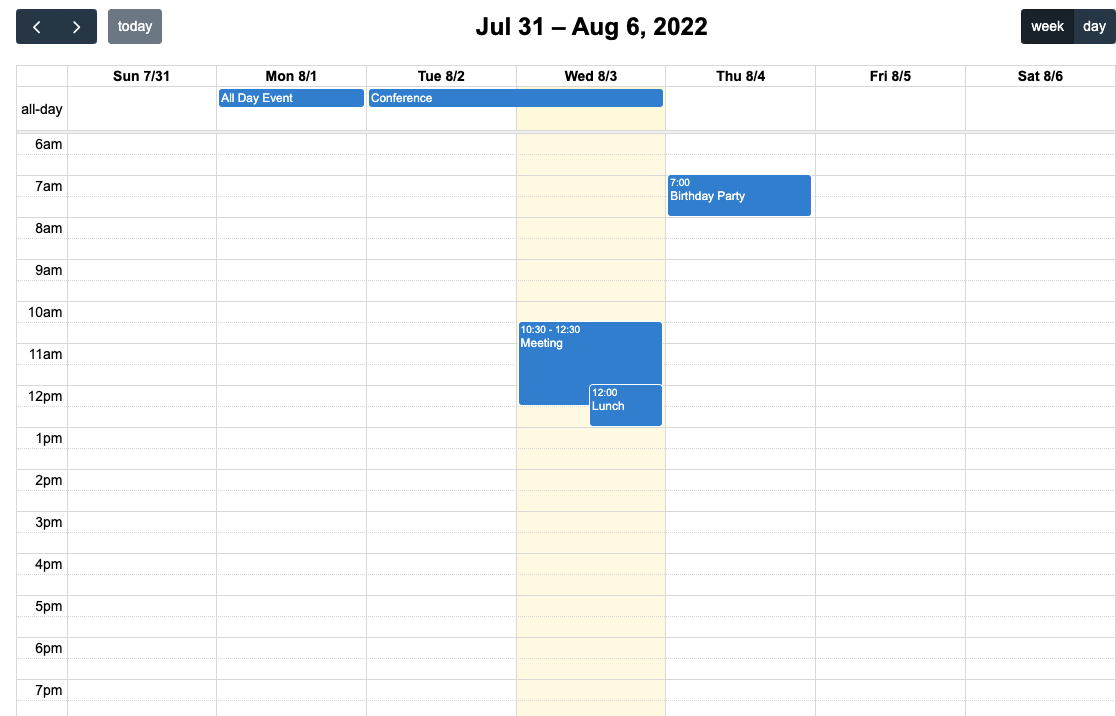
Great! We have a functioning calendar that supports adding events. Next, let’s see how we would customize the appearance of our events.
Customizing event look
To customize event content, we will use the eventContent prop which accepts a callback function. The callback has to return a React component and receives the event info object:
|
|
And here’s our EventItem component:
|
|
This example is simplified for brevity, but you can still see that you can completely customize your event display. The event object contains all the information about the event, including the start, end, title, and others.
Conclusion
In this tutorial, we covered building monthly, weekly, and daily calendar views in React with FullCalendar. Adding a calendar in React is not as difficult as it may seem. With the help of FullCalendar, it can be done quite easily.
For the full code of this tutorial, check out this codesandbox project .
If you’d like to get more web development, React and TypeScript tips consider
following me on Twitter
where I share things as I learn them.
Happy coding!