
Testing React components with Enzyme is tricky if you’re not familiar with all the tools available to you. This post will cover fundamental tips and utilities that Enzyme provides to help with writing unit tests for React components.
#1 View HTML output
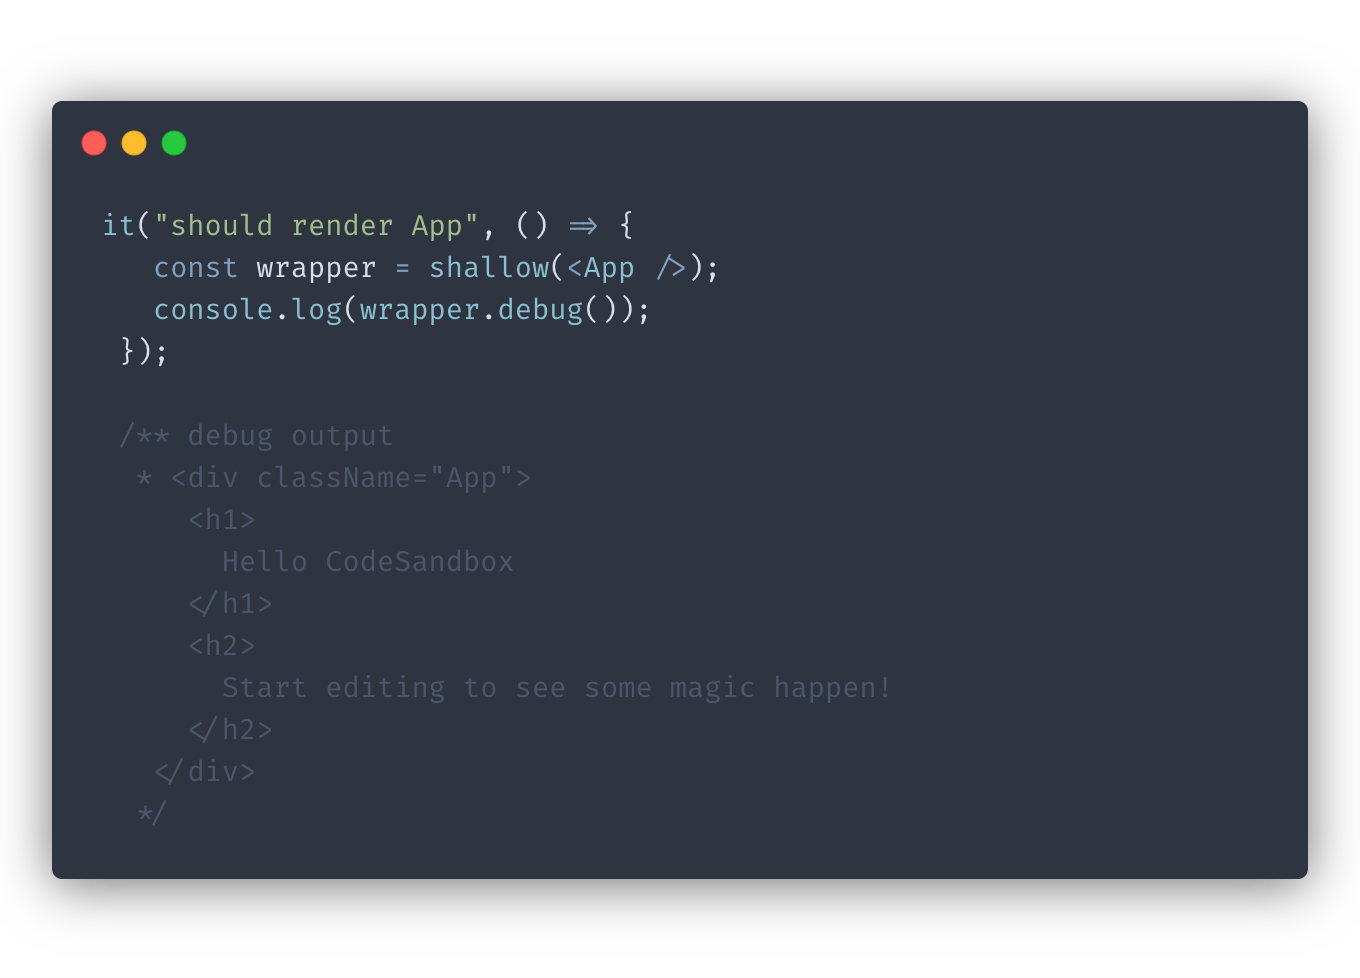
Being be able to see the HTML output of your component comes in handy when writing tests with Enzyme. To do that, you can use the debug method on the mounted element:
#2 Passing context to your components
The shallow method used for shallow-rendering components accepts a second options parameter which lets you specify context option. The
library docs
state that you can use that option to pass context to your React component. However, there’s a problem with it. This approach only works with a legacy context object and will not work with the modern Context API.
So what’s the approach that works with the modern API? A better way is to use the wrappingComponent option to specify your context provider as a wrapper:
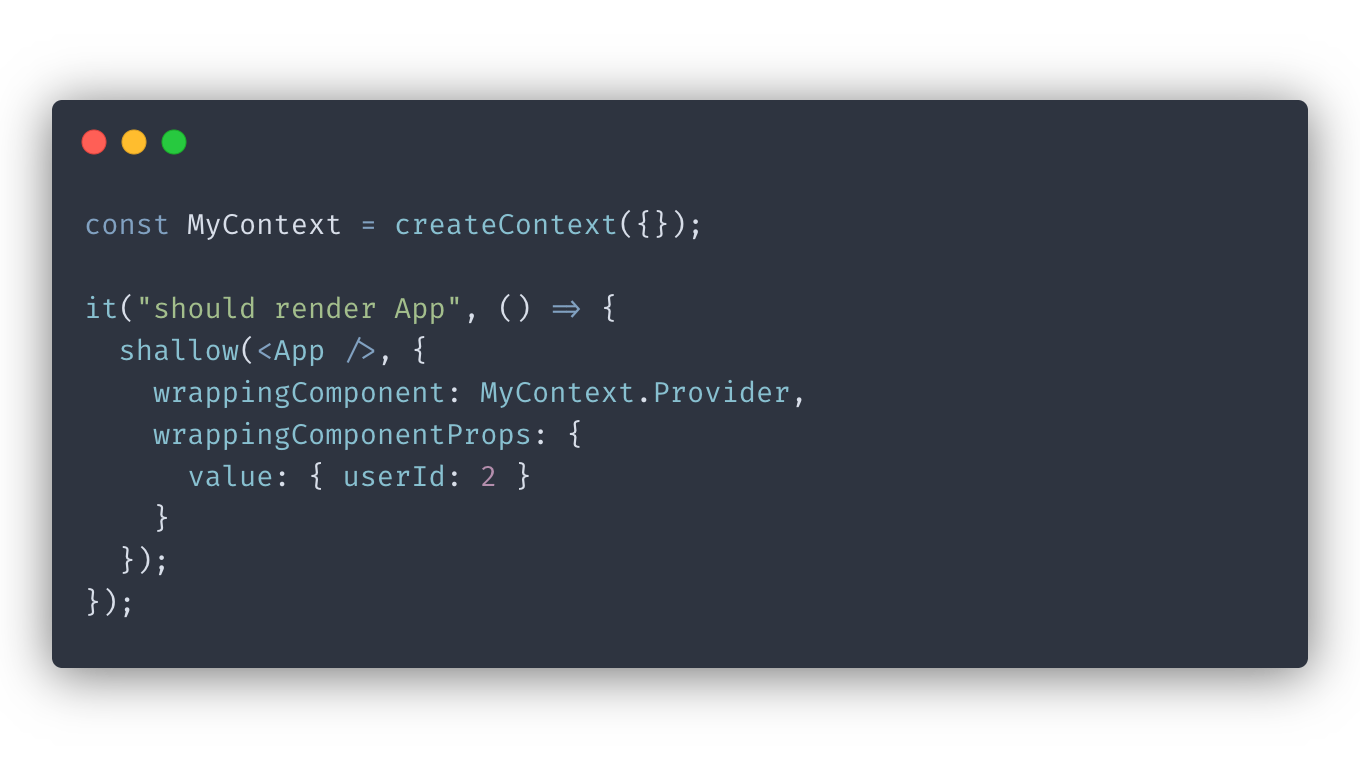
Providing context this way ensures that the return value of the shallow method is still your target test component.
#3 Selector types
People commonly use CSS selectors to find components in Enzyme. However, there are other selector types you can use, more specifically five of them.
CSS
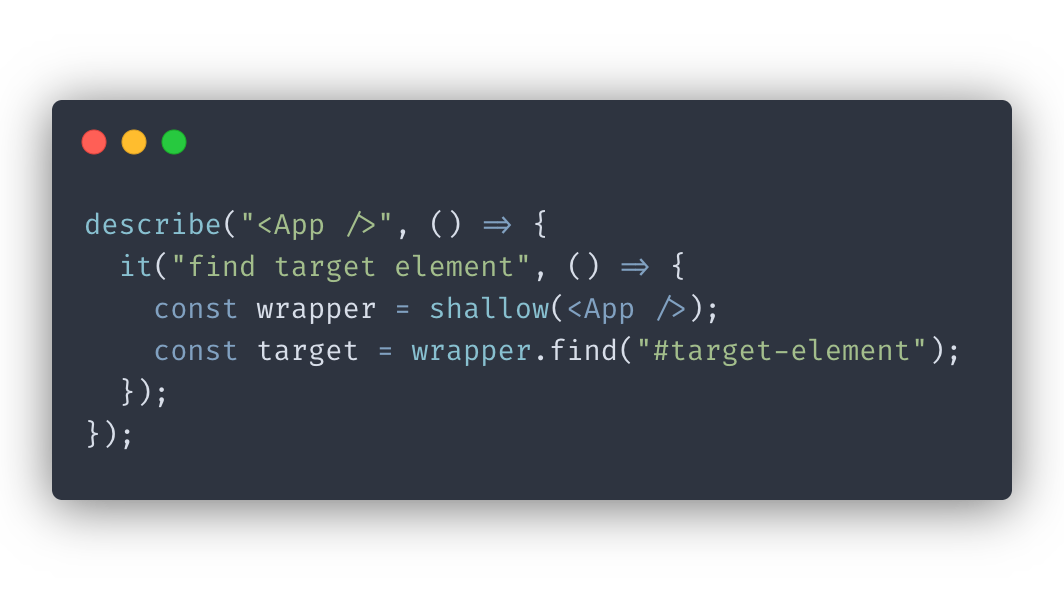
Regular CSS selector that we’ve talked about:
Prop
This selector targets components based on the value of their props. The syntax is the same as with CSS attribute selectors:
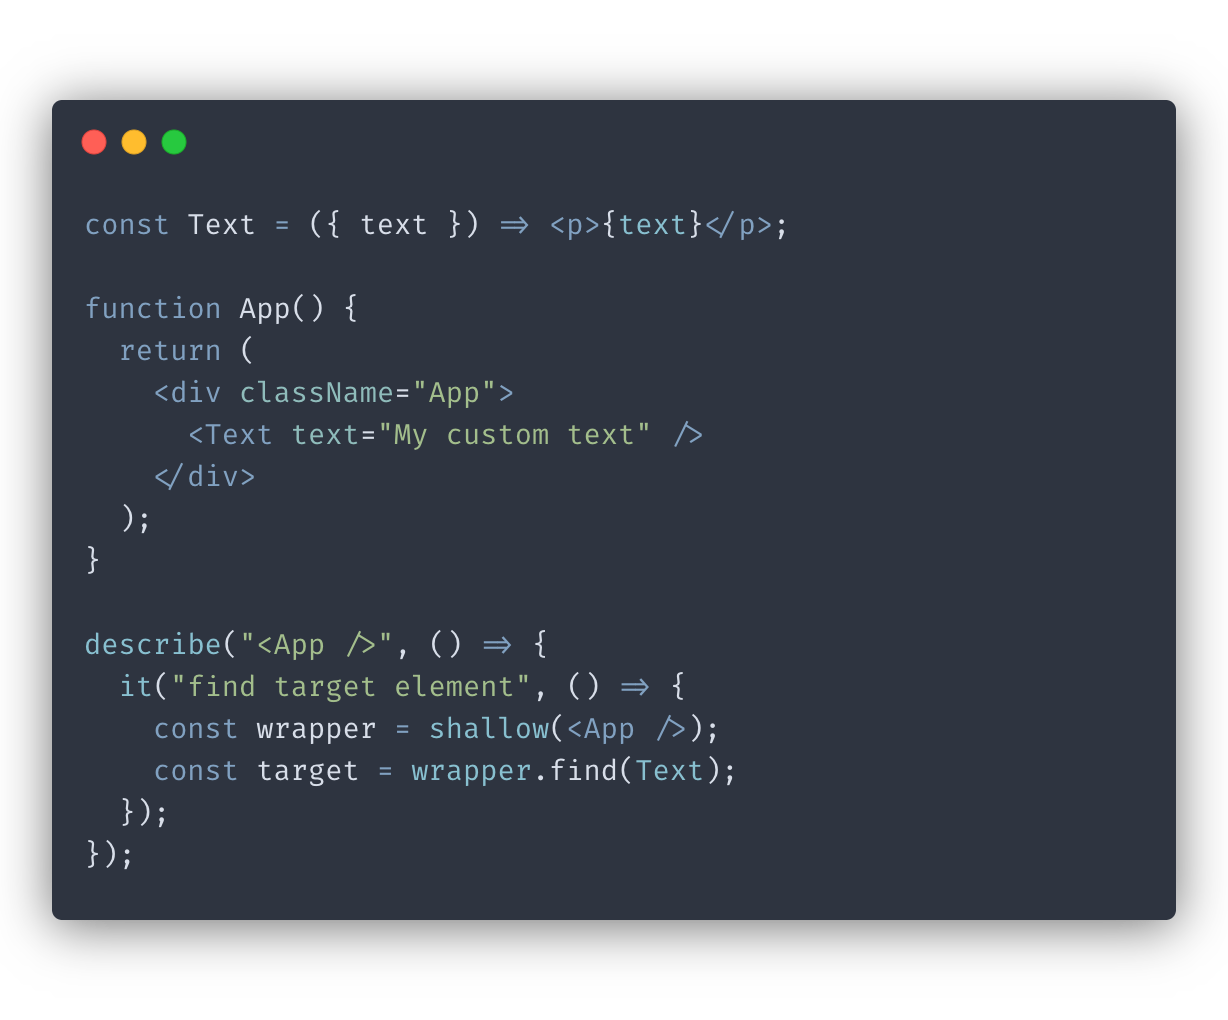
Component constructor
Finds components using their constructors. Just pass the reference to the constructor:
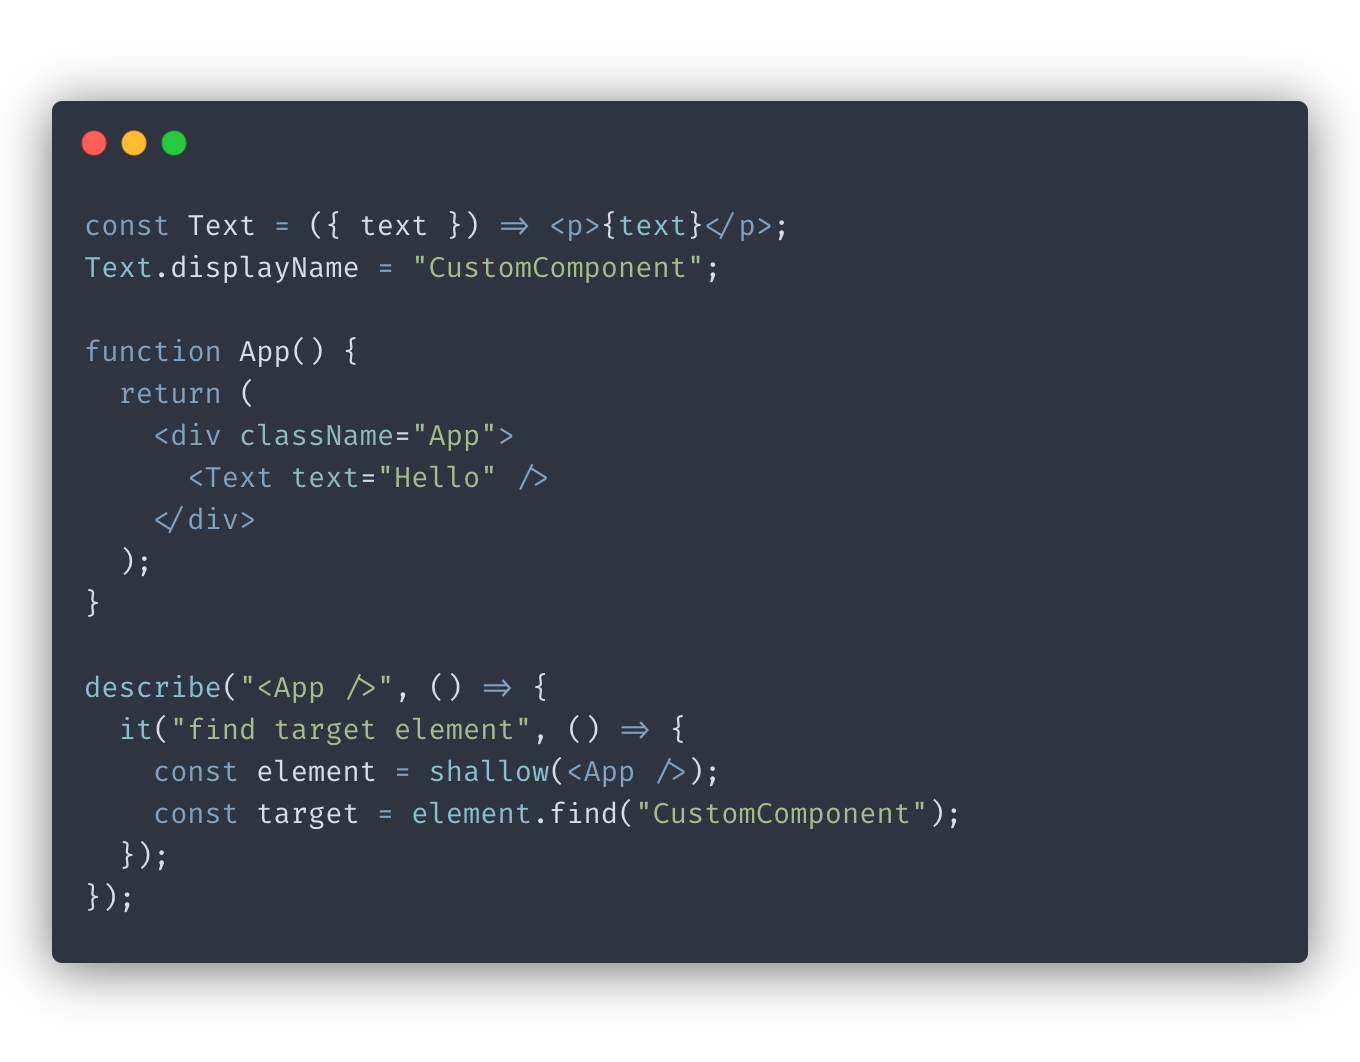
Component display name
We can simply pass the display name of the component to find it. One thing to note: the displayName must start with a capital letter, or Enzyme will interpret it as a CSS selector instead.
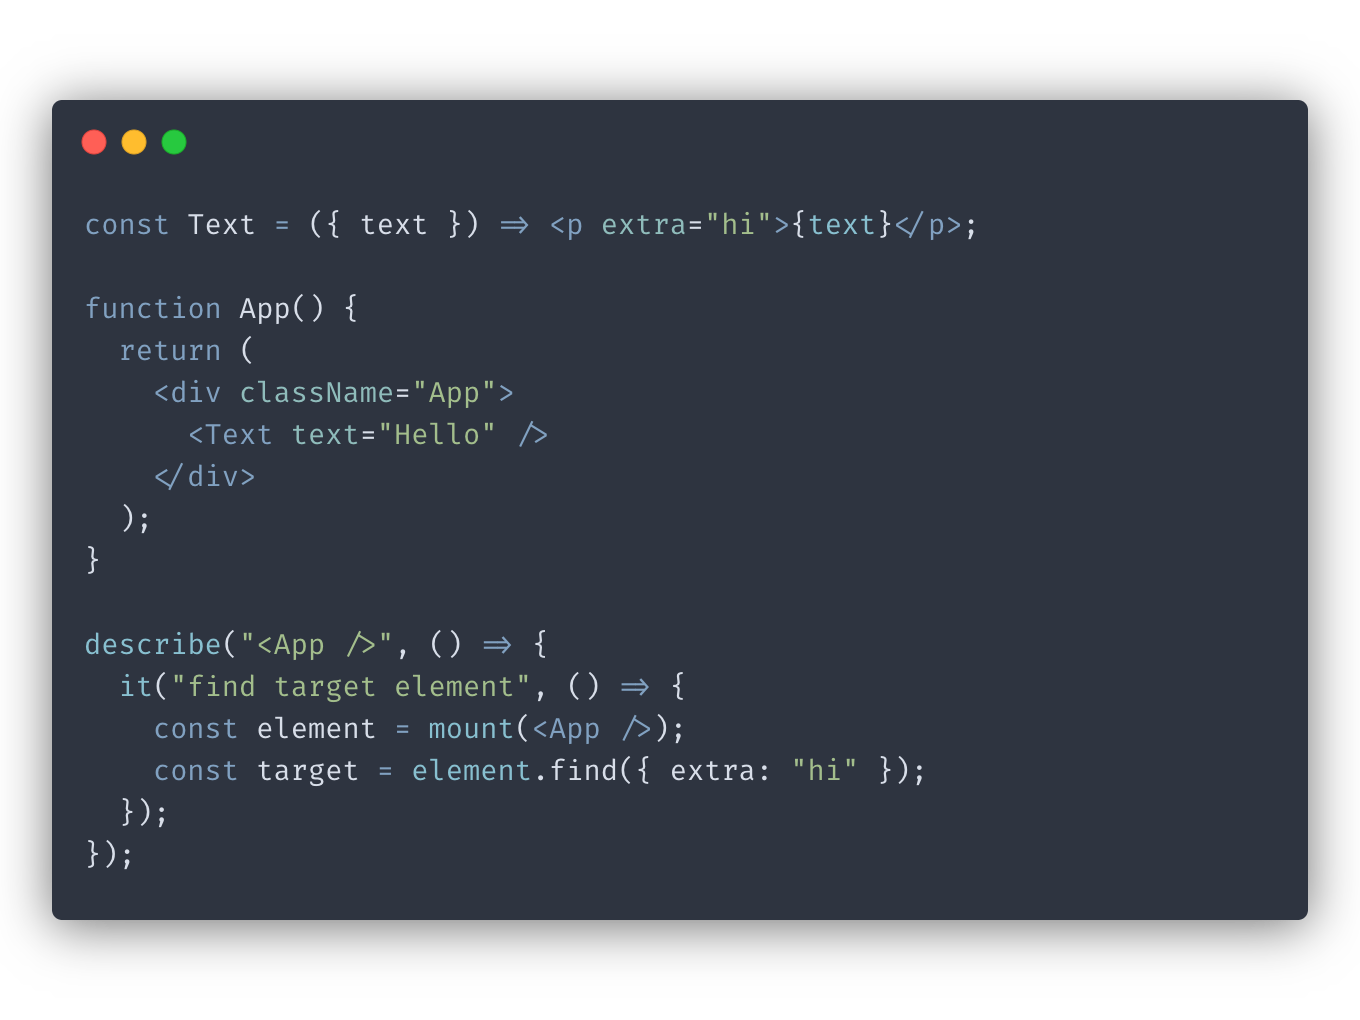
HTML property selector
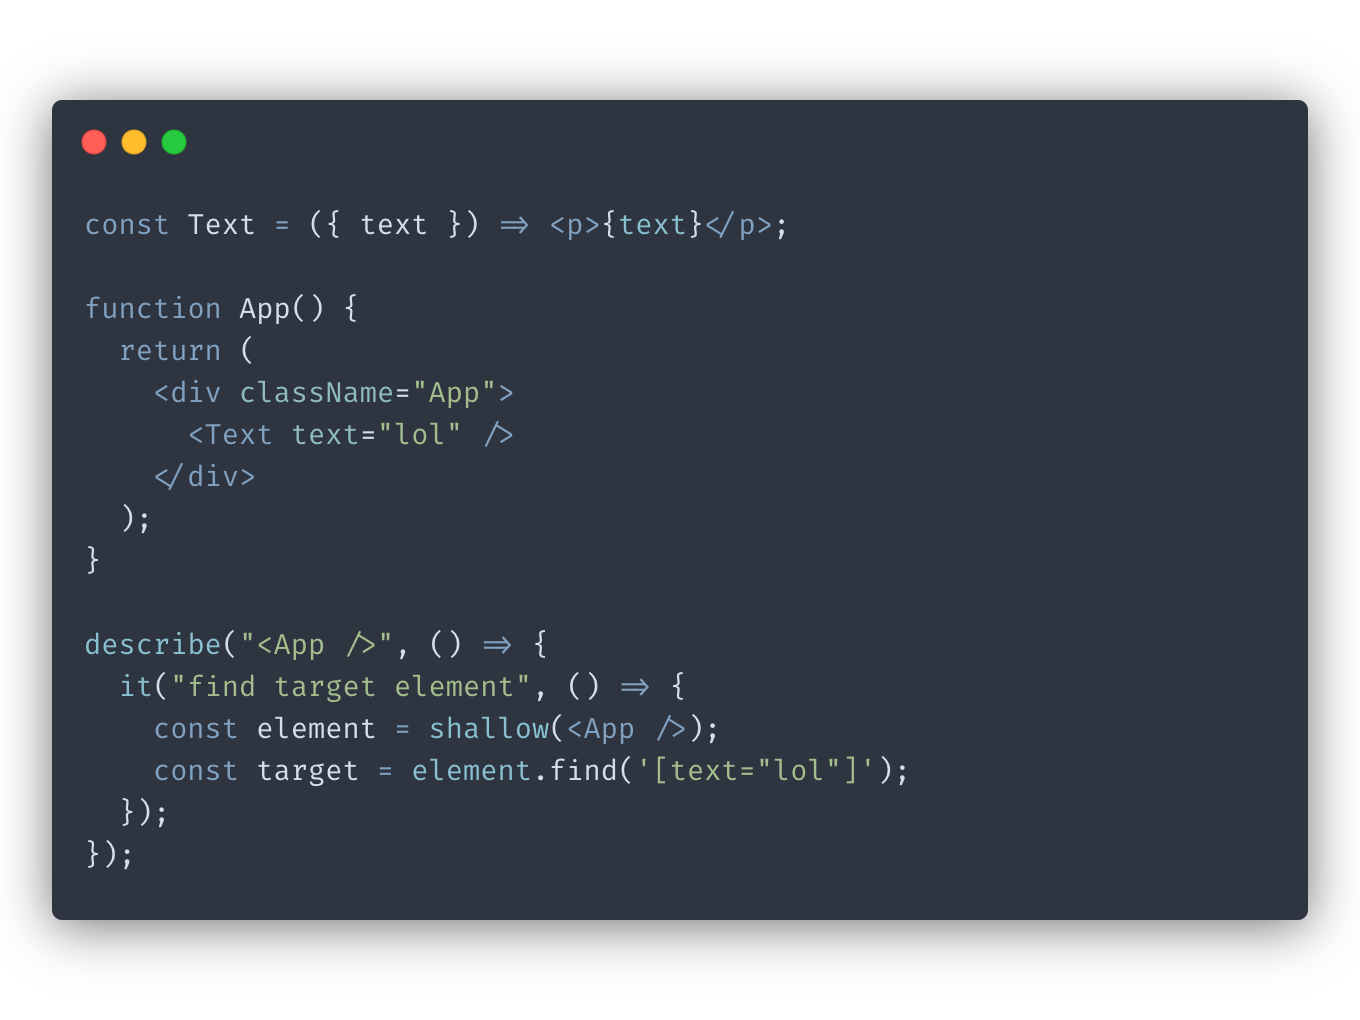
We can use this selector to find target elements based on the value of HTML properties. All we need to do is pass an object that matches the properties of the HTML element we are trying to find.
#4 Accessing props
With Enzyme, there are two different props methods you can use. You can call props directly on the mounted component, or you can call props on the instance of the component using instance().props. As you might guess, there’s a difference between their return values:
instance().propsreturns props of the React component itself.- Calling
propsdirectly on the wrapper will return properties of the underlying HTML node.
#5 Simulating events
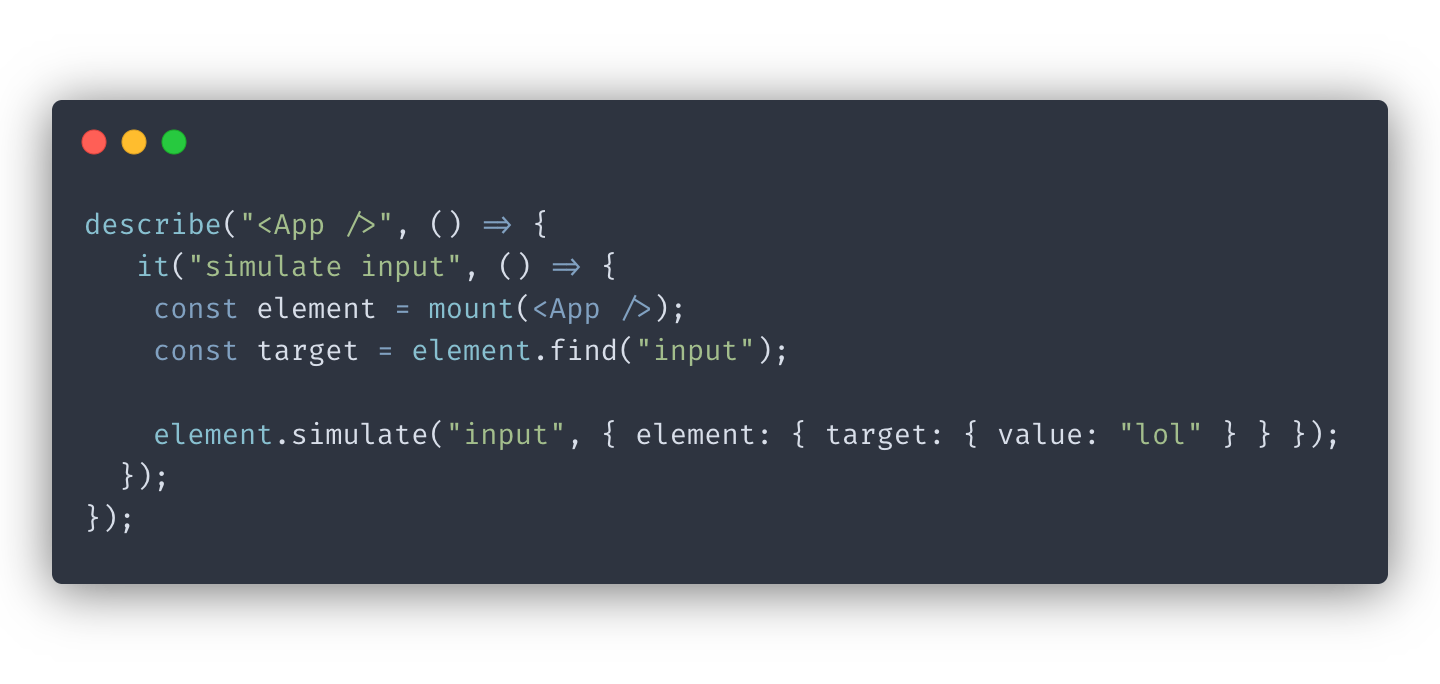
The simulate function simulates events on the root node of the wrapper. You can use it to simulate clicks, scrolls, inputs, and other user actions.
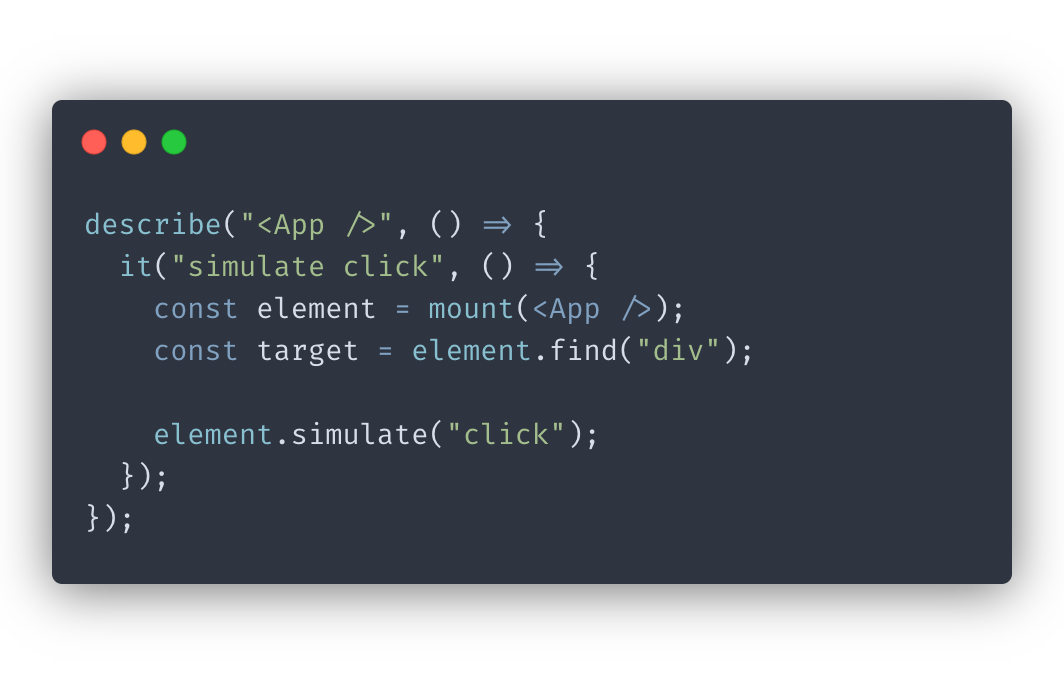
On top of that, simulate accepts optional event argument, which allows you to mock out the event object:
#6 Simple way to test components that connect to Redux
Testing Enzyme components connected to Redux is often tricky. A widely-used approach is to wrap your React component with a Redux provider and mount it or use
redux-mock-store
:

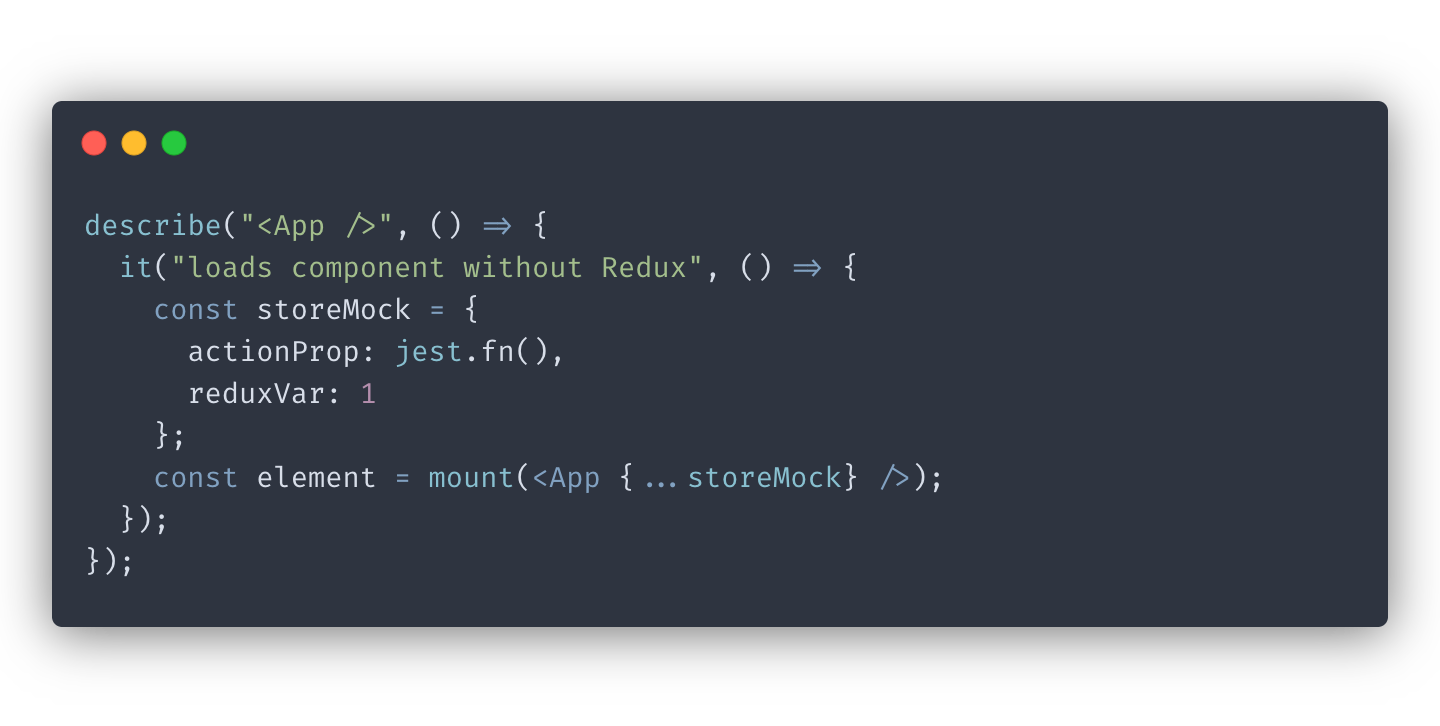
But usually, all you want to test is that the component correctly responds to events and fires correct actions. For that, you don’t necessarily need to include Redux itself. Instead, you could directly use the component you’re trying to test and not the higher-order component connected to Redux.
There are two main benefits to this approach:
-
We’re able to use
shallowinstead ofmount. With the previous approach, you often need to usemountto reach connected components. Doing so renders all of the component tree, and we often don’t need that. -
You no longer need to mock the Redux store and concern yourself with its implementation details. Instead, just provide the props your component uses directly to simulate how HOC injects the same props.
#7 Checking if your component is firing functions
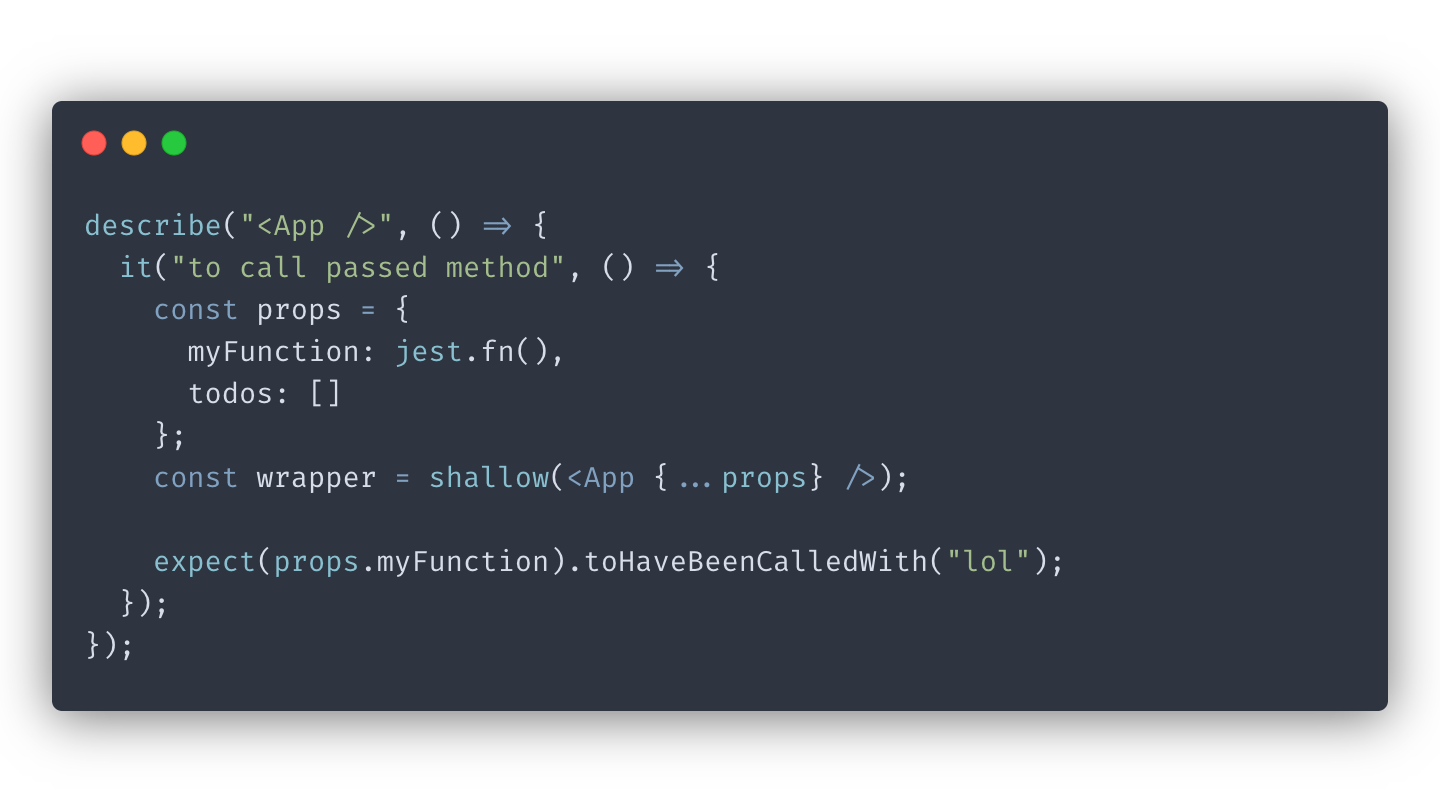
You can use toHaveBeenCalled and toHaveBeenCalledWith to test that your component is firing functions the way you expect.
The difference between the two is that toHaveBeenCalledWith lets you specify the exact parameters that you expect functions to receive:
And that’s it for this post. Here we briefly covered basic tips and practices for writing React component unit tests with Enzyme.
If you’d like to get more web development, React and TypeScript tips consider
following me on Twitter,
where I share things as I learn them.
Happy coding!