
In this post, let’s cover how we can manage granular roles and permissions in React.
Any React application starts off nice and clean until you start layering conditional logic on top of it. And it quickly gets worse when you start adding granular permissions and roles.
Handling all those nuances is a nightmare when using simple conditionals or switch statements. There is a better way to do it.
Overview of the pattern
If you break it down, the pattern is simple. It involves building a gating wrapper and defining a set of maps with roles, scopes, and permissions.
The gating wrapper accepts an array of scopes the user must have to view protected components. We will also provide a couple of handy props for certain edge cases.
Tutorial
Gating Component
We will start by adding the gating component. Let’s call it PermissionsGate:
|
|
PermssionsGate accepts children and scopes properties. We use scopes to declare which permissions the user must have to view the content of PermissionsGate.
useGetRole is a custom hook you must define that returns the current user’s role.
hasPermission returns a boolean of whether the user is granted access based on the scopes required and the user’s permissions.
Maps for roles and permissions
Now let’s define the scopes, user roles, and permissions maps we need. We’ll put them in separate permission-maps.js file:
|
|
We have three maps:
ROLES- All the user roles in our application.SCOPES- Scopes we pass to our gating wrapper.PERMISSIONS- The map that defines the set of scopes each user role possesses.
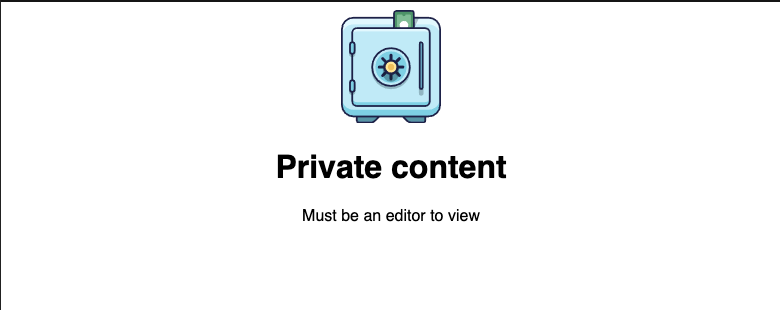
Now let’s see PermissionsGate in action. Let’s say the user must be an editor to view the page below:
All we need to do is wrap protected content with PermissionsGate and provide scopes necessary to view the content.
|
|
The client API is clean, and it’s easy to tweak the scopes in the future if (when) business requirements change.
Additional use cases
So far, so good. But we can improve PermissionsGate further. Let’s adapt it to cover two more uses cases that often come up:
- Display custom error message if the user doesn’t have correct permissions.
- Pass a custom set of props down the component tree if the user doesn’t have correct permissions.
Let’s start with the first one. In some cases, we want to display a custom error component if the user doesn’t have the right permissions. We can do so by adding a prop to our PermissionsGate. Let’s call it RenderError:
|
|
Let’s see it in action:
|
|
And here’s what we see now:

Instead of rendering protected components, PermissionsGate renders our custom error message. That’s because we require canCreate scope to view the content and our user doesn’t have it.
Let’s move on to the second use case. Sometimes, you don’t necessarily want to hide children. Instead, you might want to make children aware by passing a custom set of props. One example could be disabling an input if a user is not an editor by providing a disabled property.
To pass custom props to children, we can use React.cloneElement :
|
|
And here’s how you use it:
|
|
Our input will now be disabled for anybody without the SCOPE.canEdit scope.
Now our PermissionsGate is ready! By handling these two edge cases, we made sure we can take on any permission-related requirement that gets thrown at us.
Conclusion
With our gating component, we have a clean and scalable solution that lets us get as granular with our permissions as we need to.
Depending on your server and database setup, your implementation of gating component and permission maps may vary slightly. But the main principle stays the same.
As a quick reminder: never rely on checking permissions on the front-end application alone. Always remember to add additional permission validation on your server as well.
If you’d like to get more web development, React and TypeScript tips consider
following me on Twitter,
where I share things as I learn them.
Happy coding!