
In this post, let’s go over a simple technique for communicating between your components with React and RxJS.
Redux is the go-to library for handling state management for a lot of people. And while it’s a powerful tool, Redux should not be used as a swiss knife that solves all state management issues.
Oftentimes a leaner approach is preferred. For example, you could share the state using a simple observer pattern with RxJS. Communicating between your components this way has several notable advantages over Redux and Context API. I will list all of them at the end of the post.
RxJS for state management
RxJS is a popular library for Reactive Programming . RxJS helps write declarative code for handling side effects and asynchronous actions. To do so, it uses the concept of continuous data streams and subscriptions.
RxJS is a powerful tool with a lot of functionality. However, in this post, we will limit our use of RxJS to data streams for sharing the state between components.
Here’s the idea in a nutshell: the client subscribes to a data stream that continuously pushes new data as it arrives. The data stream can have multiple subscribers that subscribe/unsubscribe to it as they please.
The main RxJS objects we will be using:
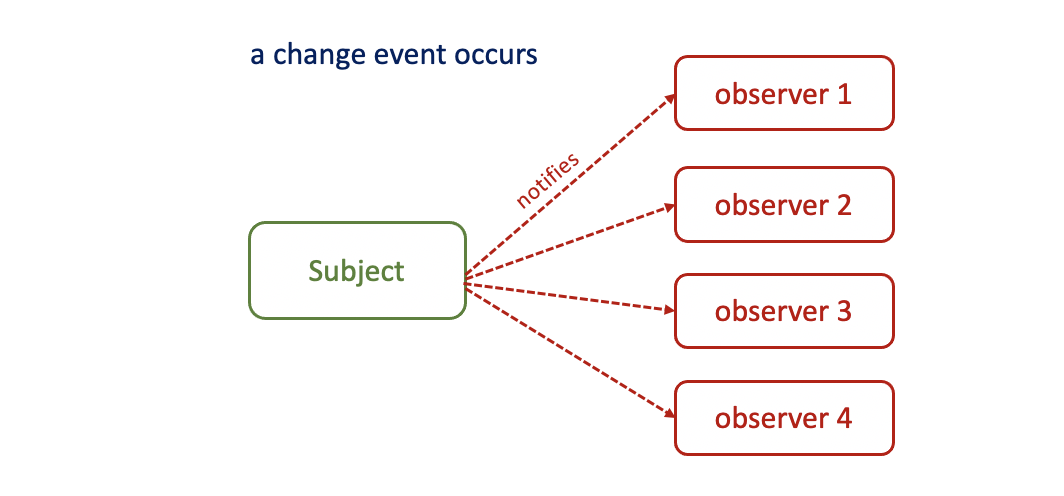
- Subject - An object with the data stream.
- Observer - Consumer of the values emitted by the subject. In our case, it will simply be a function that updates the state as the new data arrives.
Here’s the diagram to illustrate the relationship between the Subject and Observer:
Using React and RxJS
What we’re building
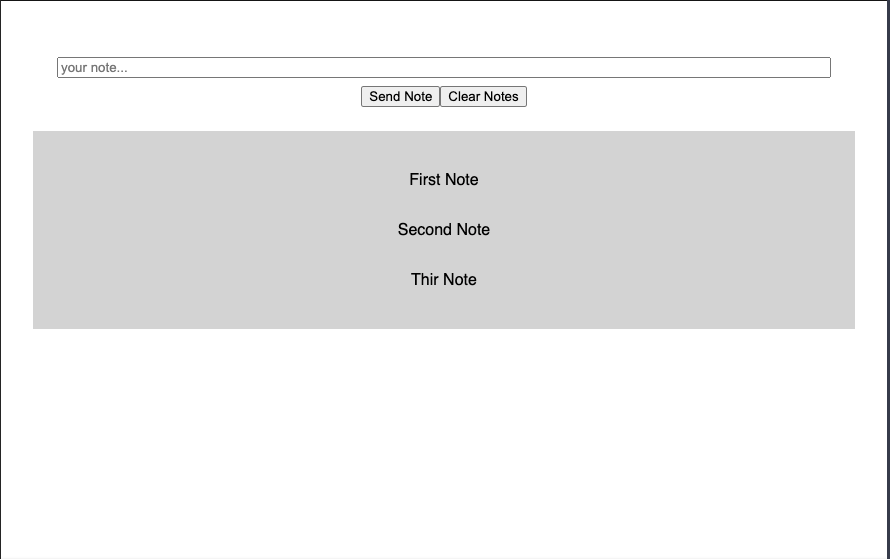
Let’s build a simple note-taking app. We will have two sibling components:
- Header - will contain controls for clearing and adding new notes.
- Content - will be responsible for displaying the notes.
Shared state management
Let’s start with adding the logic for using the shared state. Here’s our notesState.js file that handles the shared state:
|
|
One thing to note: getNotes - is a utility function for getting the current state of the notes. You can use it anywhere in the app, not just React components.
useSharedNotes - a custom hook that you can use to get and mutate the current state of the notes. useSharedNotes uses useEffect method for subscribing to the subject when the component is loaded.
To subscribe, we use the subject.subscribe method. Our subscriber function updates the state whenever it receives new notes data. subject.subscribe returns a subscription object that we use to unsubscribe whenever the component is unmounted.
useSharedNotes returns addNotes, clear functions and the notes array that contains our current notes state. That’s all we need to get our app to work.
Components
Now let’s start adding the Header and Content components.
First, let’s define Header. This component contains controls for adding new notes and clearing them:
|
|
Pretty straightforward. We have input and two buttons for adding and clearing notes. We’re using the addNote and clear methods to push changes to the shared state.
Now let’s define the Content component that’s responsible for displaying the notes:
|
|
We’re only using the notes field from the shared state. That’s because this component’s sole job is to display the notes.
And that’s all there’s to it! As I said, a much leaner approach compared to Redux.
Refactoring the shared state
Our shared state code is okay for a simple app like ours. However, in a big project with multiple shared states, writing separate hooks for each state can be cumbersome.
Let’s make our notesState more reusable:
|
|
Our refactored code is similar to the previous one. But now we have subjects map that contains multiple different subjects. We access them using statically defined keys.
We pass those keys to the useSharedState hook as the first parameter to specify which subject we’re subscribing to. For our note-taking app, we would use the NOTES_STATE key to access and mutate the shared state. For each new state, we can keep adding new keys and use them as needed.
Benefits of our approach
Let’s summarize the benefits of using shared state with React and RxJS:
- Leaner code. This approach to sharing state generally involves writing less code.
- Access the state from anywhere. With Redux and Context API, you can only access the global state from components or redux actions. With our shared state approach, you can use the
getSharedStateValueto read the state from anywhere, including static util methods. - Explicit side effects. Using the shared state approach makes it easier to track the side effects. With Redux, you would first need to find the reducers affected by the actions, then all of the components that subscribe to those reducers. With our approach, you can search for a subscription key (like
NOTES_STATE), and you will immediately see all of the components subscribed to it. - Avoids re-rendering the whole component tree. One advantage of this approach over Context API is that this will only re-render the subscribed components. With Context API, when there’s any change to the state, the whole component tree is re-rendered.
And that’s it for this post! Hopefully, you found this pattern to be simple and useful enough to try in your projects. For big applications, I suggest combining it with Redux. Use Redux for the global state that doesn’t change very often, like user sessions and tokens. And use RxJS for things that can change often and affect a smaller number of components.
Here’s a link to the code sandbox for this tutorial.
If you’d like to get more web development, React and TypeScript tips consider
following me on Twitter,
where I share things as I learn them.
Happy coding!